

Whether you're brand new to nails or just getting started with Light Elegance, nail prep is the single most important step you can master. Skip it or rush it, and even the best products won't perform the way they should. Get it right, and you'll have clients coming back for fills because their nails are still perfect two weeks later.
Here's the simple 4-step prep guide we use at DK Beauty — built around the Light Elegance system.
Watch: Perfect Prep in Action
Before we dive in, check out the Light Elegance prep video playlist below — these walk you through the technique visually so you can see exactly what we're describing.
▶ Watch the Prep Video Playlist
Step 1 — Cleanse
Using 99% isopropanol and a lint-free wipe, cleanse the nails using a circular scrubbing motion to fully remove oil, residue, and debris from the nail surface.
Why LE products? LEpro Cleansing Wipes are 100% lint-free, and LEpro Cleanser contains no dyes, fragrances, or water — promoting ultimate adhesion from the very first step.
Pro Tip: Always begin the service by cleansing the nail surface to remove any oils and residue from the nail plate. Do this prior to doing any filing for nail preparation.
Step 2 — Cuticle Work
Using a cuticle pusher, gently push back, loosen, and lift the cuticle tissue from the nail plate. The blade end of the cuticle pusher is a great way to remove excess cuticle tissue from the nail.
If desired, you can now use your eFile to prep the nail plate and clean the cuticles — removing any dry or dead skin, hangnails, etc. This step gives you a clean, defined nail plate to work with.
Step 3 — File & Texture
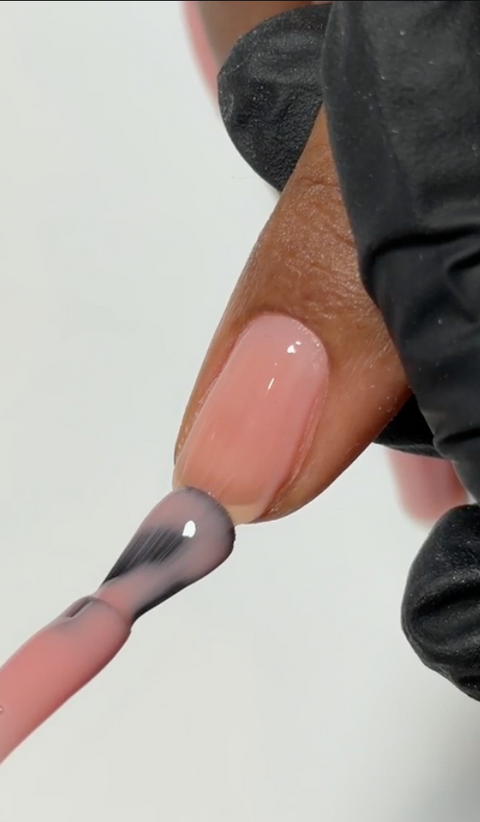
Using a high-quality file and a very light touch, carefully prep each of the natural nails to remove the shine and create a little texture in the top layer of the nail plate. Be sure to file along the natural nail free edges to prep the end of the nails.
Always file in one direction across the surface of the nail plate — ensure there is no shine left on the nail plate, as this can affect adhesion.
- 180 grit file — P+ Gel Polish or JimmyGel application
- 100 grit file — Lexy Line hard gel application
Step 4 — Final Cleanse & Inspect
Remove dust from the nails with a duster brush, then again with 99% isopropanol and a lint-free wipe. Cleanse and inspect the nails to be sure the entire nail plate is prepped and ready for product application.
This final cleanse is non-negotiable — dust and debris left on the nail plate are one of the most common causes of lifting.
The Products That Make It Happen
All of the Light Elegance prep products referenced in this guide are available at DK Beauty — exclusively for licensed nail professionals and accredited beauty students.
Shop Light Elegance at DK Beauty →
Pro accounts only. Not yet approved? Apply here.






Comments (0)
There are no comments for this article. Be the first one to leave a message!